Restoring Implants with Iverson Dental Labs
Clinical application:
- Implants have been placed, healed, and ready for restoration
Step 1: Identify implant ** or reference the surgical report from time of implant placement
Step 2: Choose type of workflow (see chart below)
- Use Digital Workflow if an intraoral scanner is available
- Use Conventional Workflow (physical impressions) if intraoral scanner unavailable, or if physical impressions/models are preferred
Prior to appointment:
Patient in the chair:
- Scan the bite
- Pt bites down, tack scan premolar area for proper occlusion
- Scan opposing arch
- Remove Healing Cap
- Scan the emergence profile
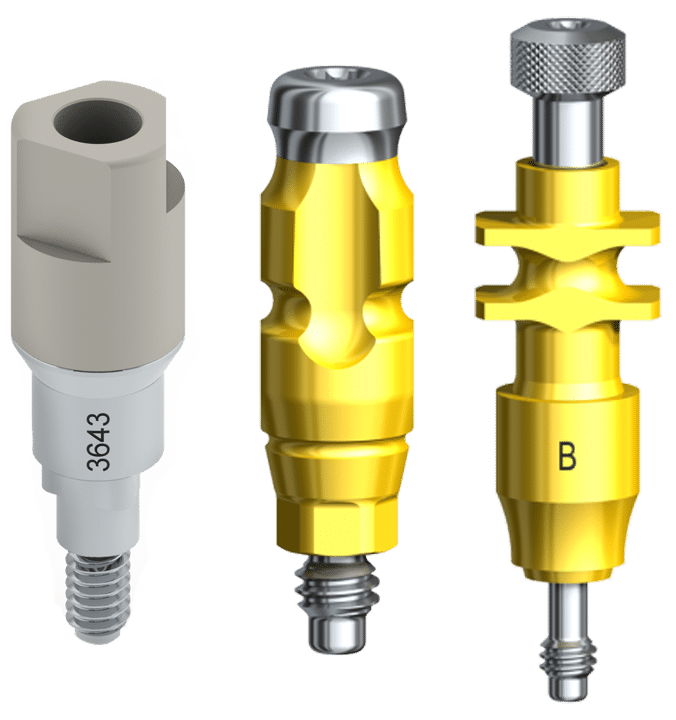
- Place Scan Body (screw into implant)
- Verify with radiograph (no gaps)
- Verify with floss (no contacts)
- Scan
- Remove Scan Body
- Place Healing cap
- Send data to lab
Prior to appointment:
Patient in the chair:
- Bite registration (*Blue Mousse)
- PVS impression opposing arch
- use stock tray
- do not use triple tray
- Remove Healing Cap, dry the area
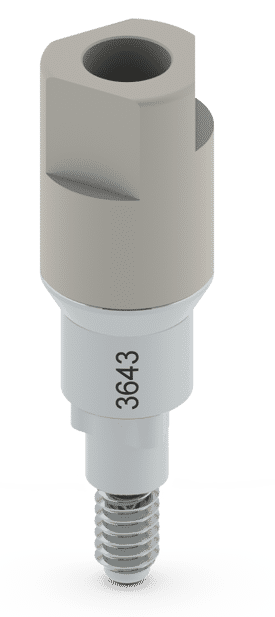
- Place impression coping (hand tighten, no driver needed. 15 NCM if torquing)
- * flat sides of coping should be parallel to adjacent teeth
- Cover access hole with wax
- Load Stock Tray (med or heavy body)
- Impress
- Remove tray
- Unscrew impression coping
- Do not place it back into the impression unless an implant replica has been attached.
- Simply send it with case
- Place Healing Cap
- Send impression + coping to lab

** Please remember to send Rx slip with instructions – include size and type of implant ** Please remember to specify the SHADE